
Athlete Hub: Understanding Properties

Every sponsorship opportunity comes with specific criteria. A brand wants athletes who drive Toyotas. Another is looking for coffee lovers. A third needs to know who's available to travel in March. This information doesn't live on social media, it lives in your conversations with athletes, in spreadsheets your team has built over time, and in the institutional knowledge that walks out the door when staff turns over. Properties let you capture all of this inside SA Score. They're custom fields you define, organize, and fill in for your athletes. Once the data is there, it becomes instantly searchable and filterable just like follower count or engagement rate. Let's walk through how they work.
Properties Overview
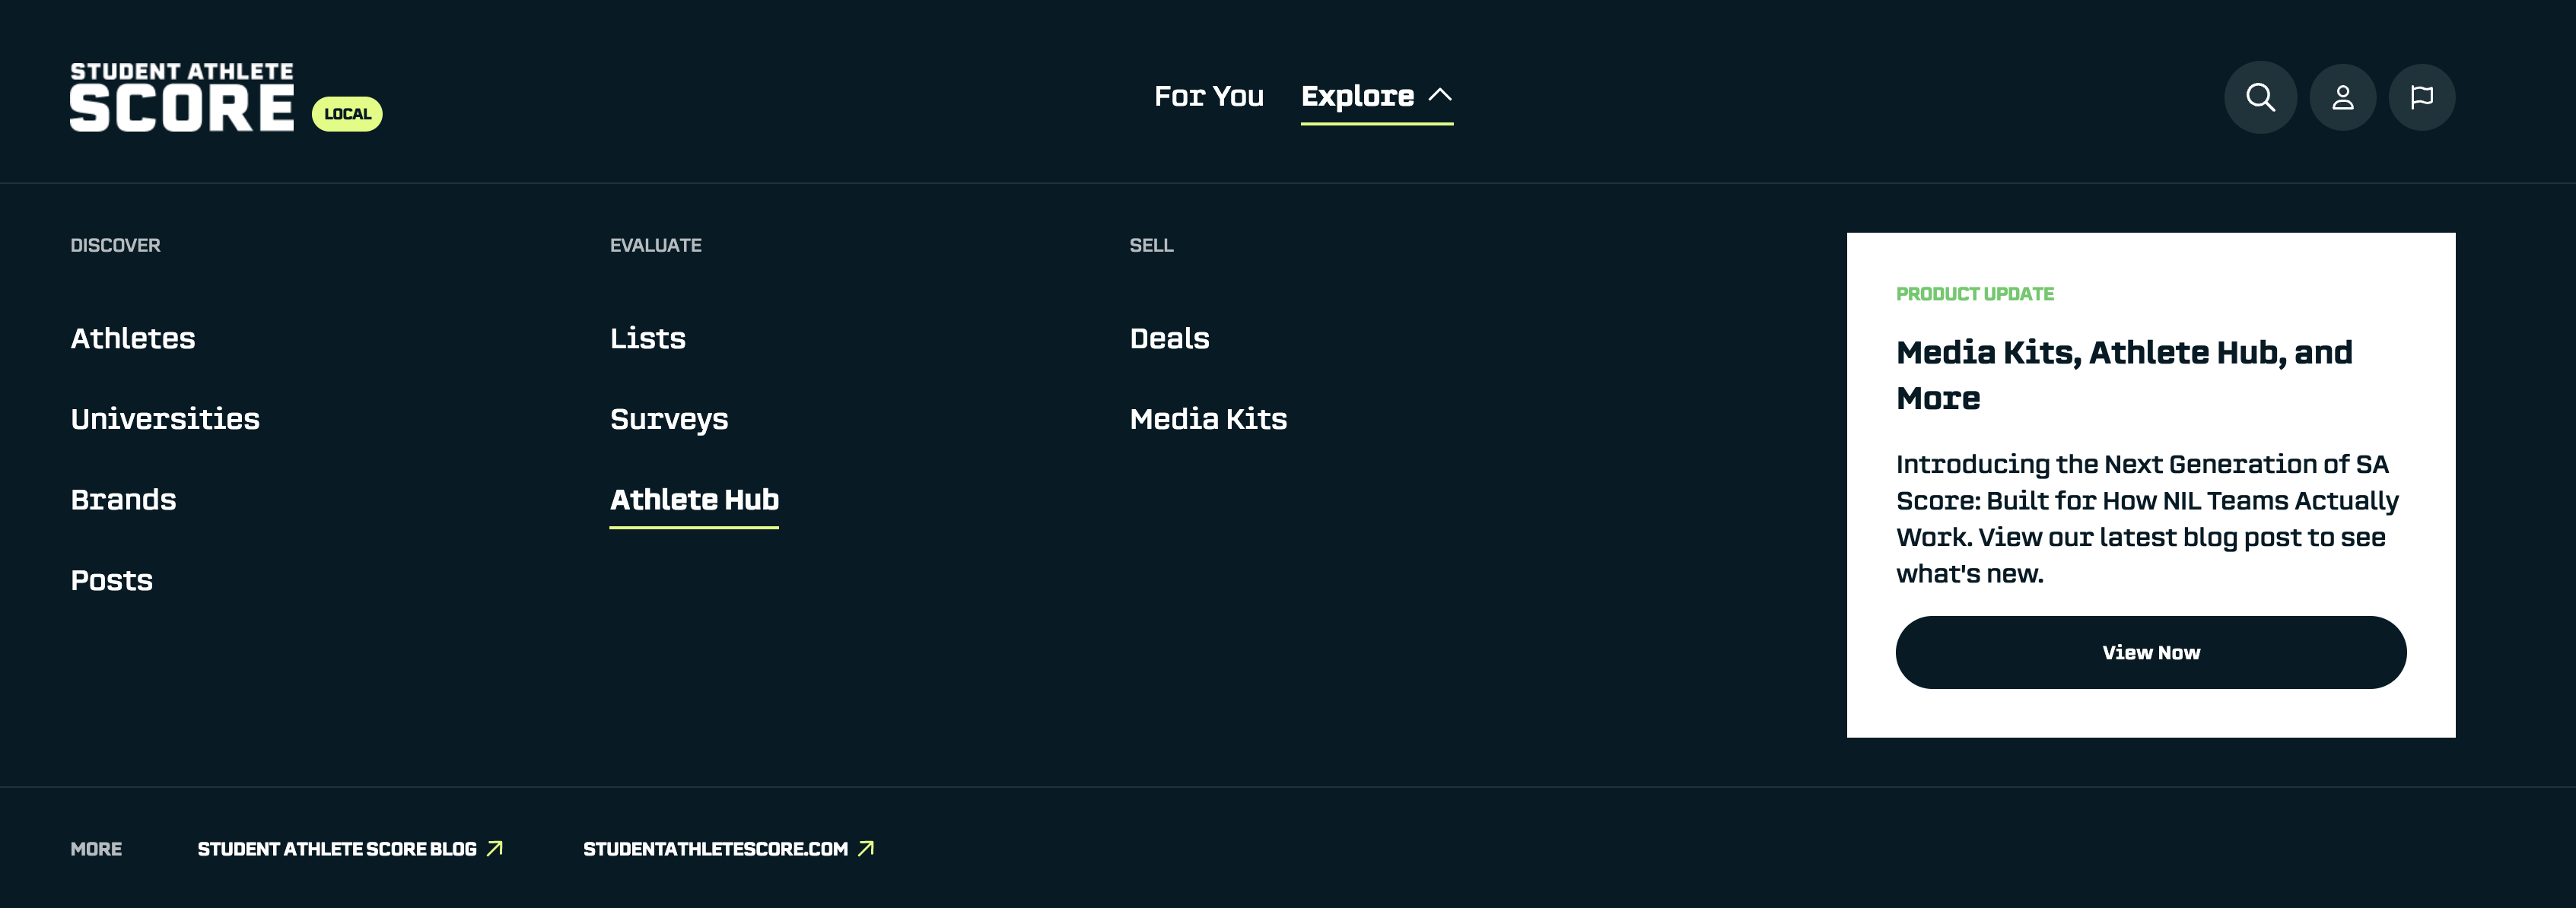
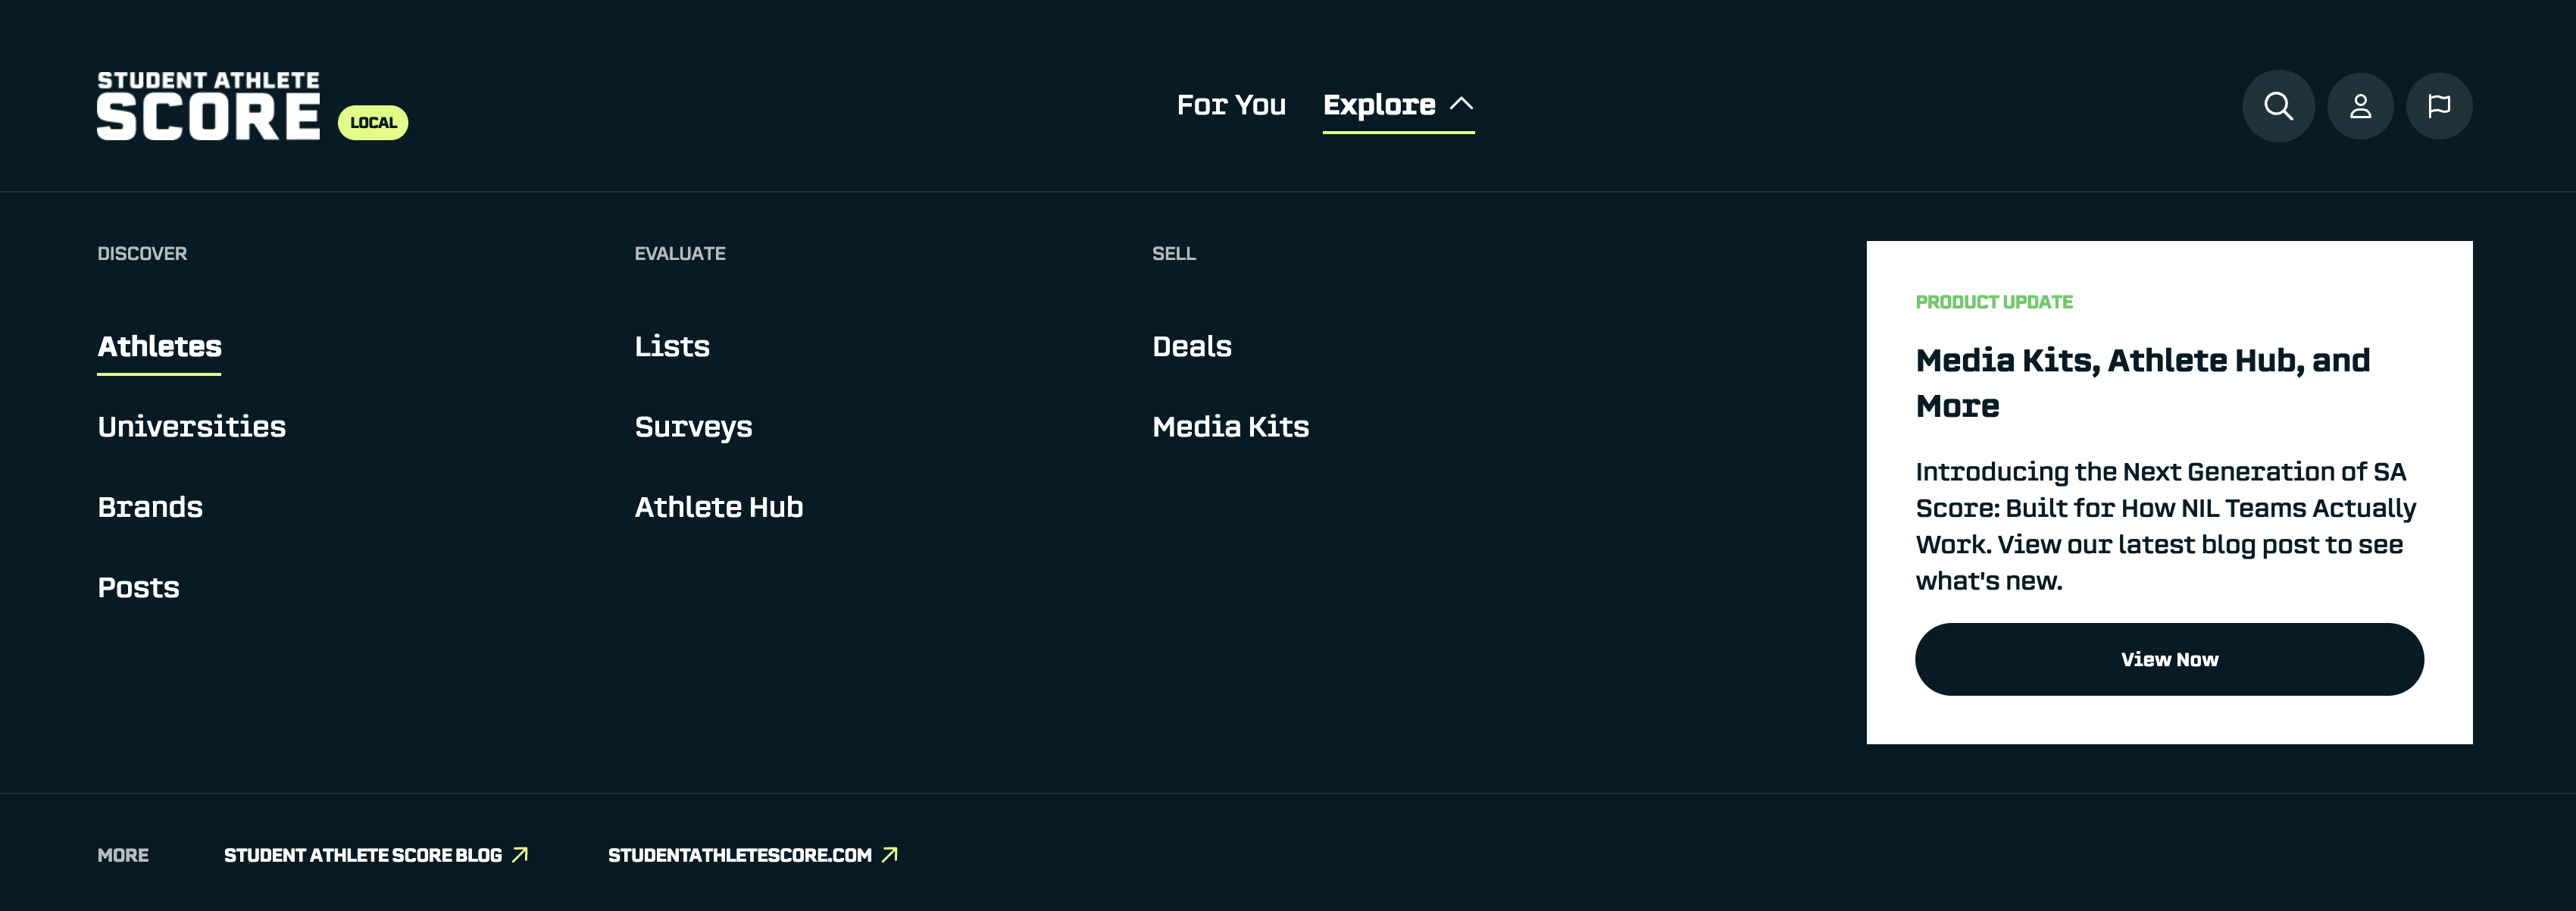
To create your first property, click on Athlete Hub in the navigation bar, then go to the Properties tab.
.png)
Property Types
When you create a property, you'll choose what type of data it holds. Here are your options:
Type: Text
- Accepts: Any text
- Best for: Open-ended info like hometown, favorite quote, etc.
Type: Number
- Accepts: Numbers only
- Best for: Jersey number, years of eligibility remaining
Type: Checkbox
- Accepts: Yes/No toggle
- Best for: Simple true/false questions (e.g., “Has agent?”, “Available for travel?”)
Type: Single-Select
- Accepts: One choice from a list you define
- Best for: Categories with only one answer (vehicle brand, primary language)
Type: Multi-Select
- Accepts: Multiple choices from a list you define
- Best for: Categories with multiple answers (interests, favorite food types, pet types)
Type: Email
- Accepts: Valid email addresses
- Best for: Athlete contact info
Type: Phone
- Accepts: Phone numbers
- Best for: Athlete contact info
Type: Date
- Accepts: Calendar dates
- Best for: Contract end dates, birthdays, event date
Type: URL
- Accepts: Web links
- Best for: Personal websites, Linktree, media coverage links
Choosing the Right Type
Think about how you'll use the data:
- Need to filter by exact categories? Use Single-Select or Multi-Select. When Chewy calls looking for pet owners, you can filter for "Dog" or "Cat" instantly.
- Need flexible, open-ended answers? Use Text. Great for capturing details that don't fit neatly into categories.
- Need simple yes/no tracking? Use Checkbox. Perfect for binary questions like "Completed brand safety training?"
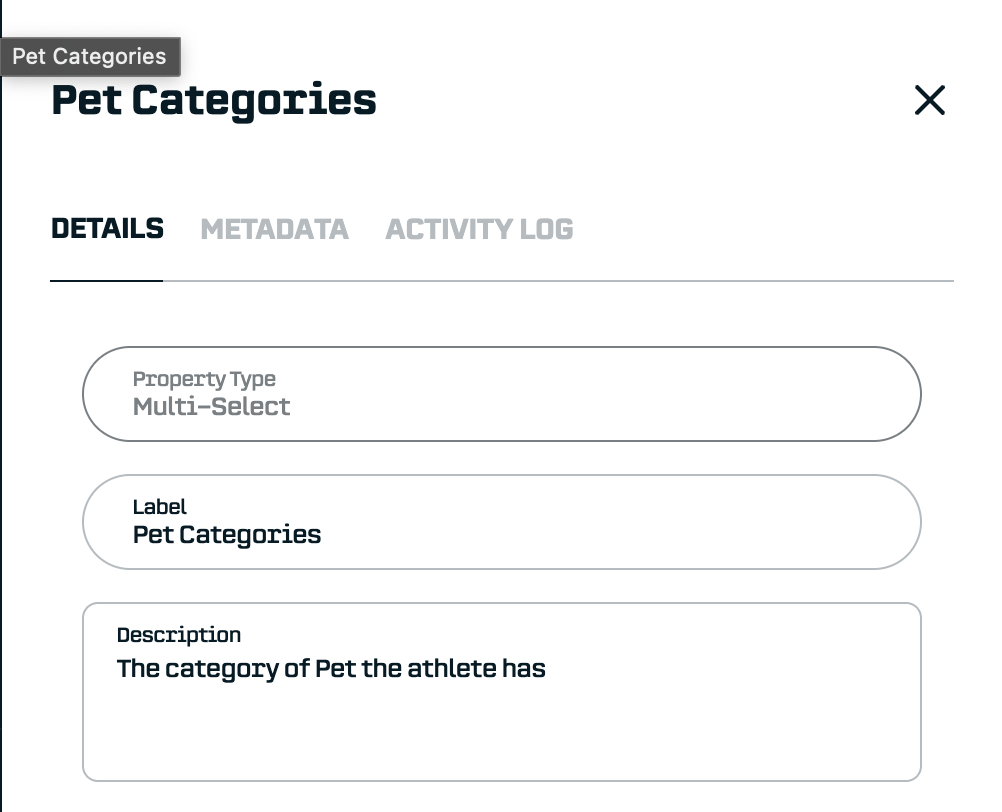
Labels and Descriptions
Every property has two parts:
Label - The name of the property (like "Favorite Food Category" or "Has Pet"). Labels must be unique. You can't have two properties with the same name.
Description - An optional explanation of what this property tracks. This helps your team stay aligned, especially as your property list grows. For example: "Primary cuisine preferences for restaurant sponsorship matching."
Single-Select and Multi-Select Options
When you choose Single-Select or Multi-Select, you'll need to define the options athletes can choose from.
For example, a "Pet Type" multi-select might include: Dog, Cat, Fish, Bird, Hamster, Other
Click Add Option to add each choice.

Tip: Think about how brands ask questions. If sponsors typically ask "Do you have athletes who love dogs?" then having "Dog" as a preset option makes filtering faster than searching through free-text answers.
Unique Properties
Some properties need to have different values for every athlete, no duplicates allowed. These are called unique properties.
The most common example is Email. You can't have two athletes with the same email address in the system.
Why does this matter?
Unique properties unlock a powerful feature: automatic athlete matching during data imports. When you upload a spreadsheet that includes email addresses, SA Score can instantly match each row to the right athlete without you having to confirm manually. This saves hours on recurring imports.
It also prevents your team from adding conflicting information, like accidentally pasting in the same email for two different athletes.
For a full walkthrough of how this works, check out Getting Started with Data Import.
Getting Data Into Properties
You've created your properties. Now how do you fill them in? There are three ways:
1. Manual Entry
For one-off updates or small corrections, you can edit properties directly on an athlete's profile.
Here's how:
- Navigate to the athlete's profile
- Click the Athlete Hub button
- Go to the Properties tab
- Click Edit next to the property you want to update
- Enter the new value and save
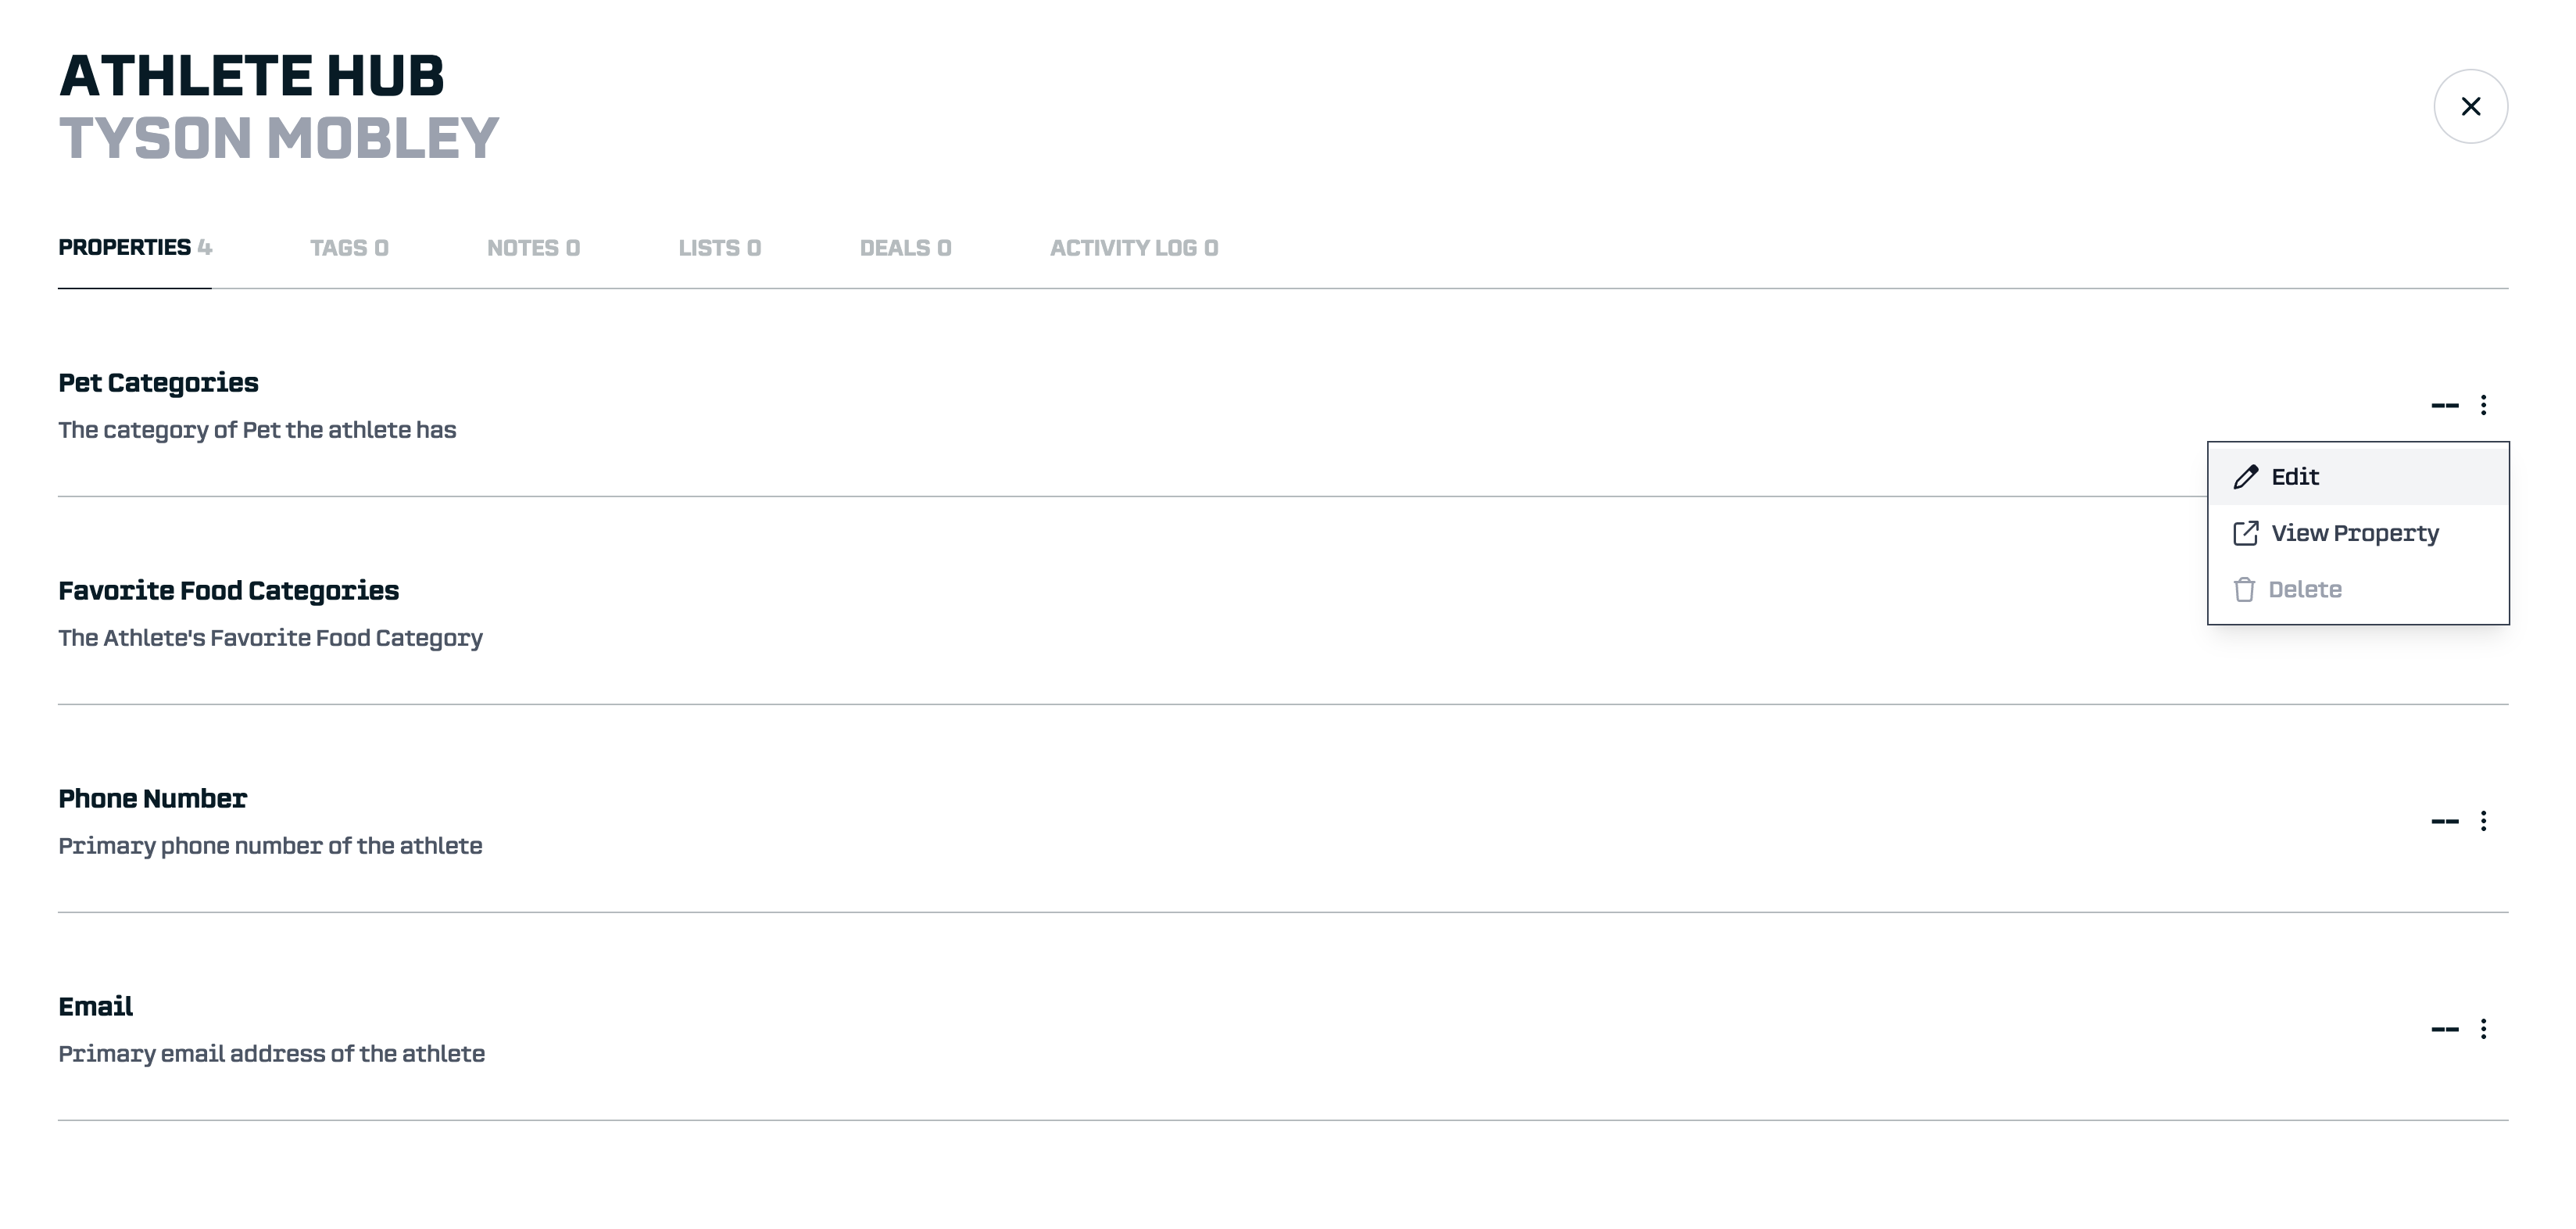

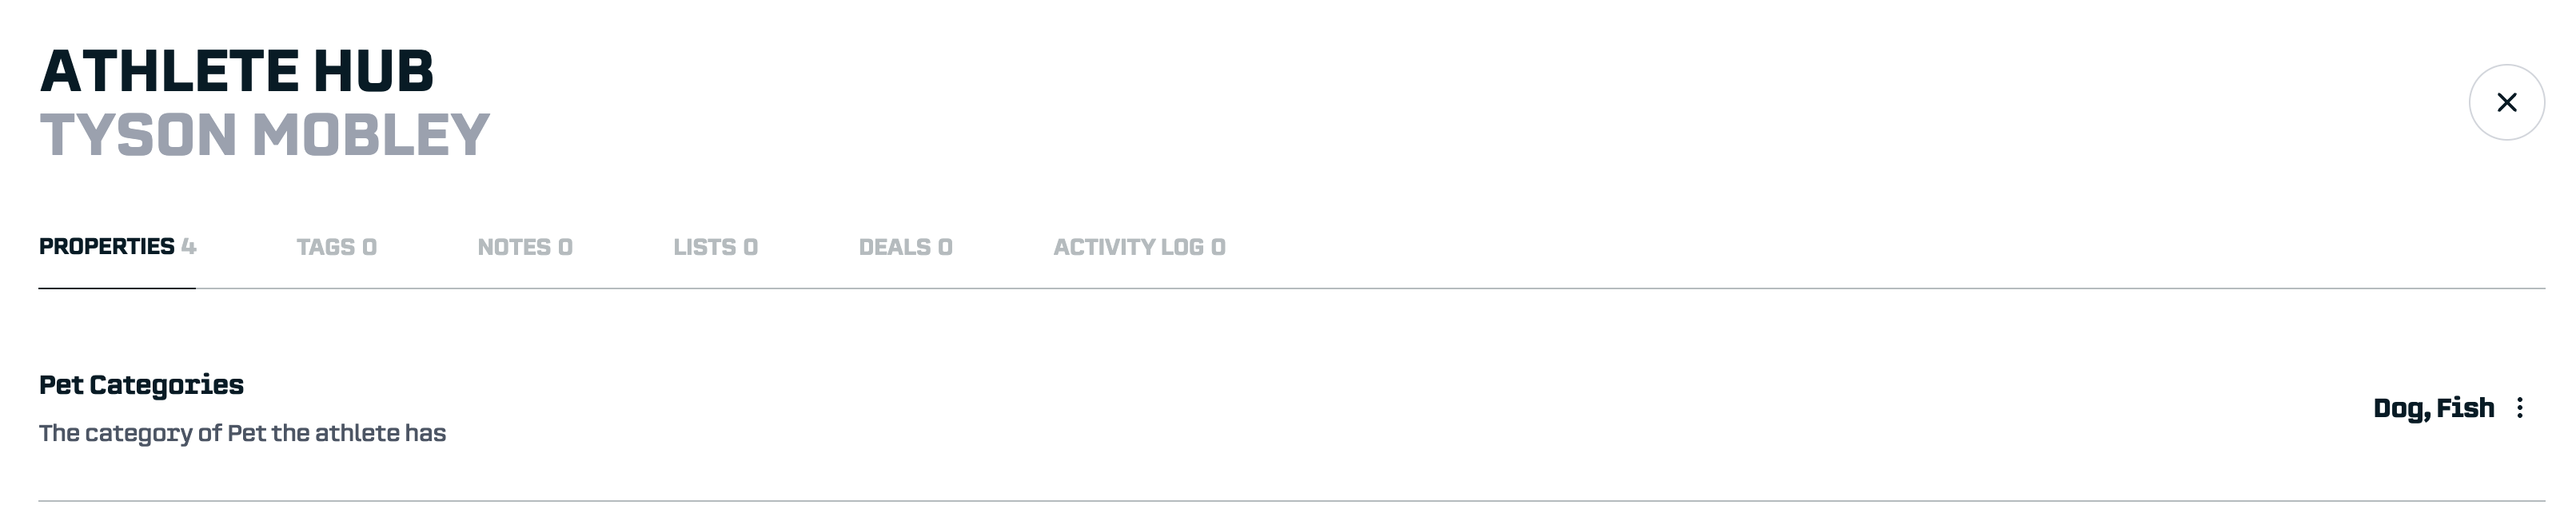
To remove a property value, click Delete instead of Edit.
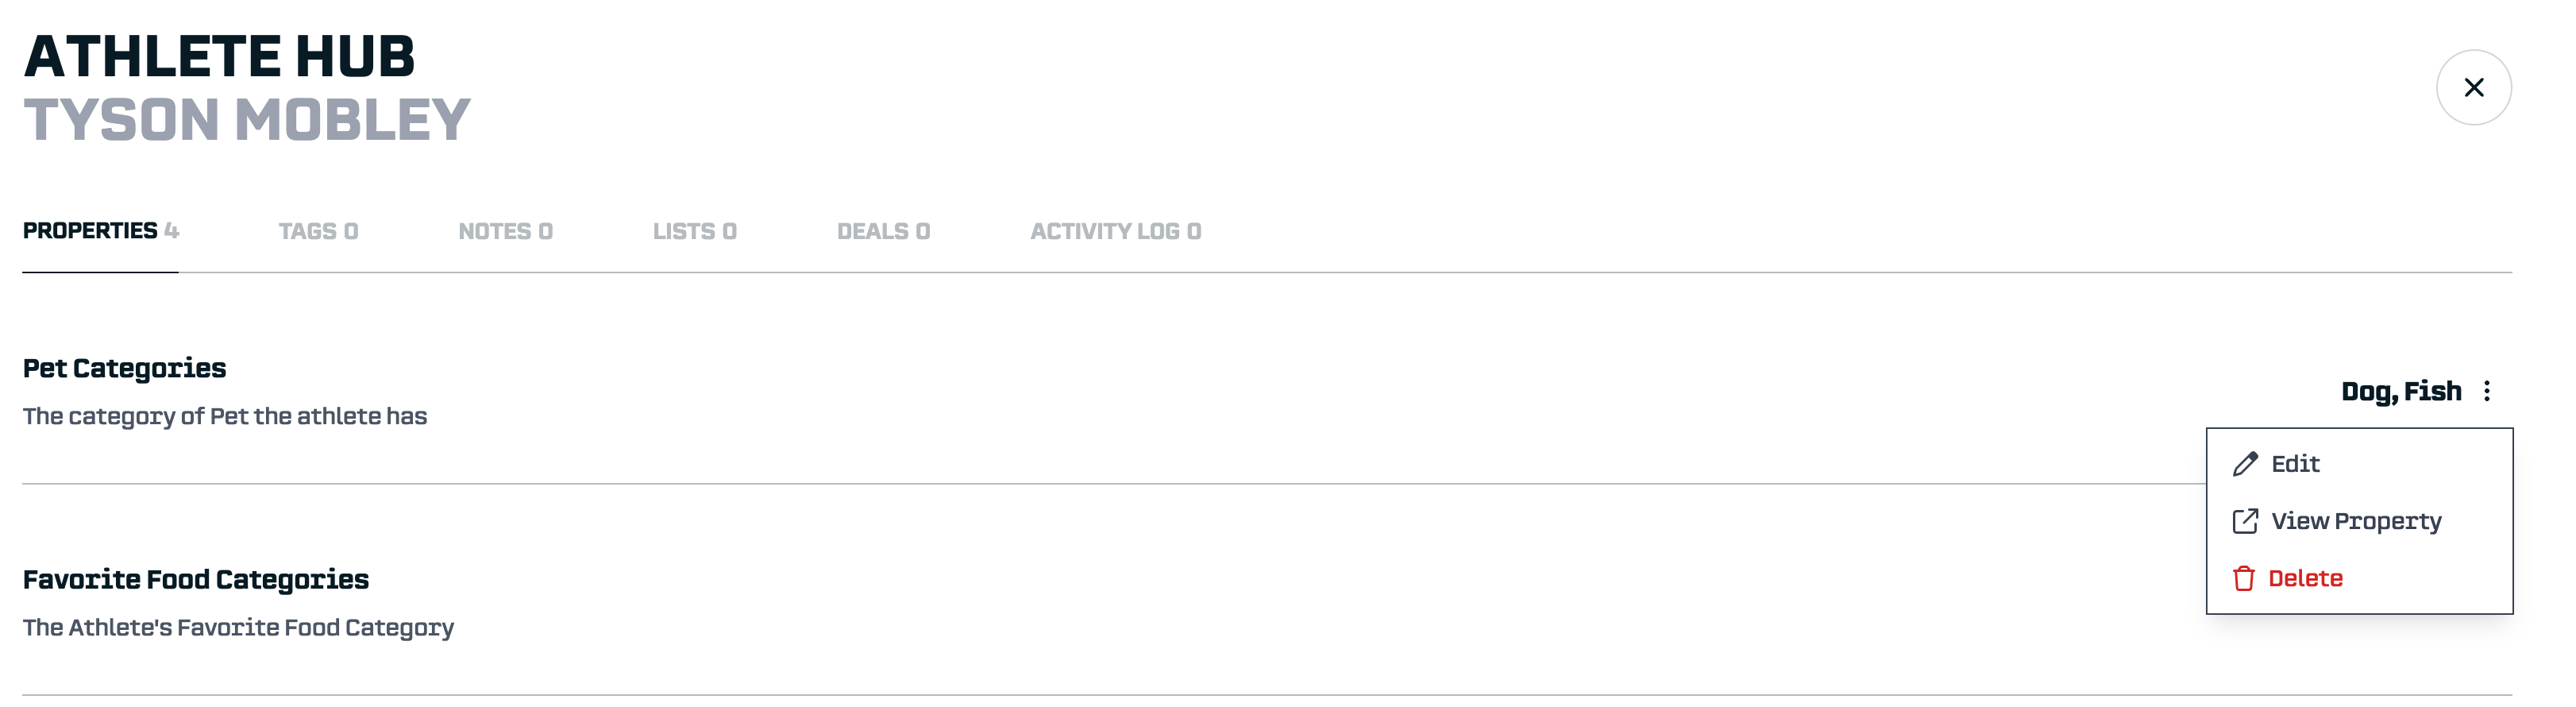

This works great for: correcting mistakes, adding info you just learned from a conversation, updating a single athlete before a pitch.
2. Data Import
When you have a spreadsheet full of athlete information, Data Import lets you upload it all at once. Map your columns to properties, match rows to athletes, and the data flows in automatically.
This works great for: migrating existing spreadsheets, bulk updates, recurring data syncs from other systems.
For a complete walkthrough, see our Getting Started with Data Import.
3. Surveys
Sometimes you need information directly from athletes. Surveys let you ask questions and have the answers automatically populate properties.
For example: You create a survey asking "Do you have a pet?" and link the question to your "Has Pet" checkbox property. When an athlete answers "Yes," their property updates automatically, no manual data entry required.
This works great for: gathering information you don't already have, onboarding new athletes, collecting time-sensitive details (like March availability).
A complete walkthrough on Surveys is coming soon, I’ll update the link here when it’s ready. The Surveys section in this blog covers the basics.
Using Your Properties
Once your properties have data, they become part of SA Score's filtering system for your organization.
Filtering Athletes by Properties
- Go to the Athletes view
- Click Filters
- Select the Athlete Hub tab
- Choose a property and enter your criteria


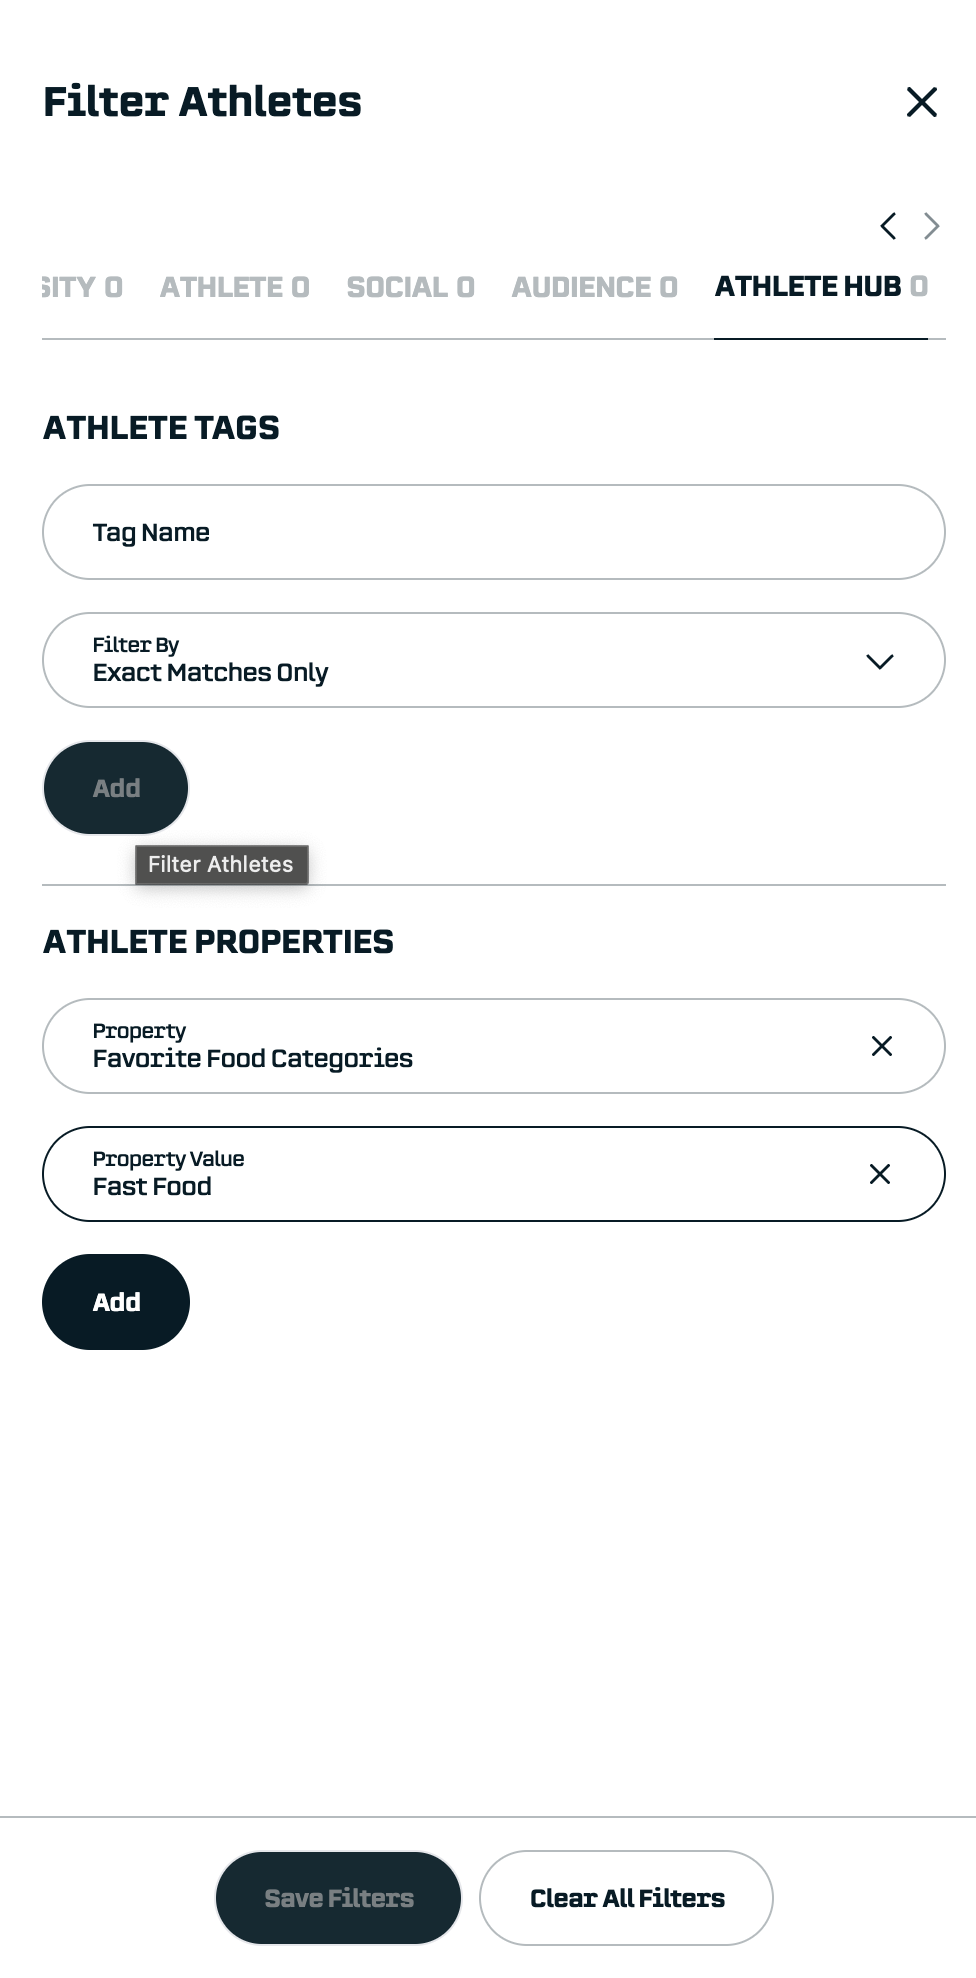
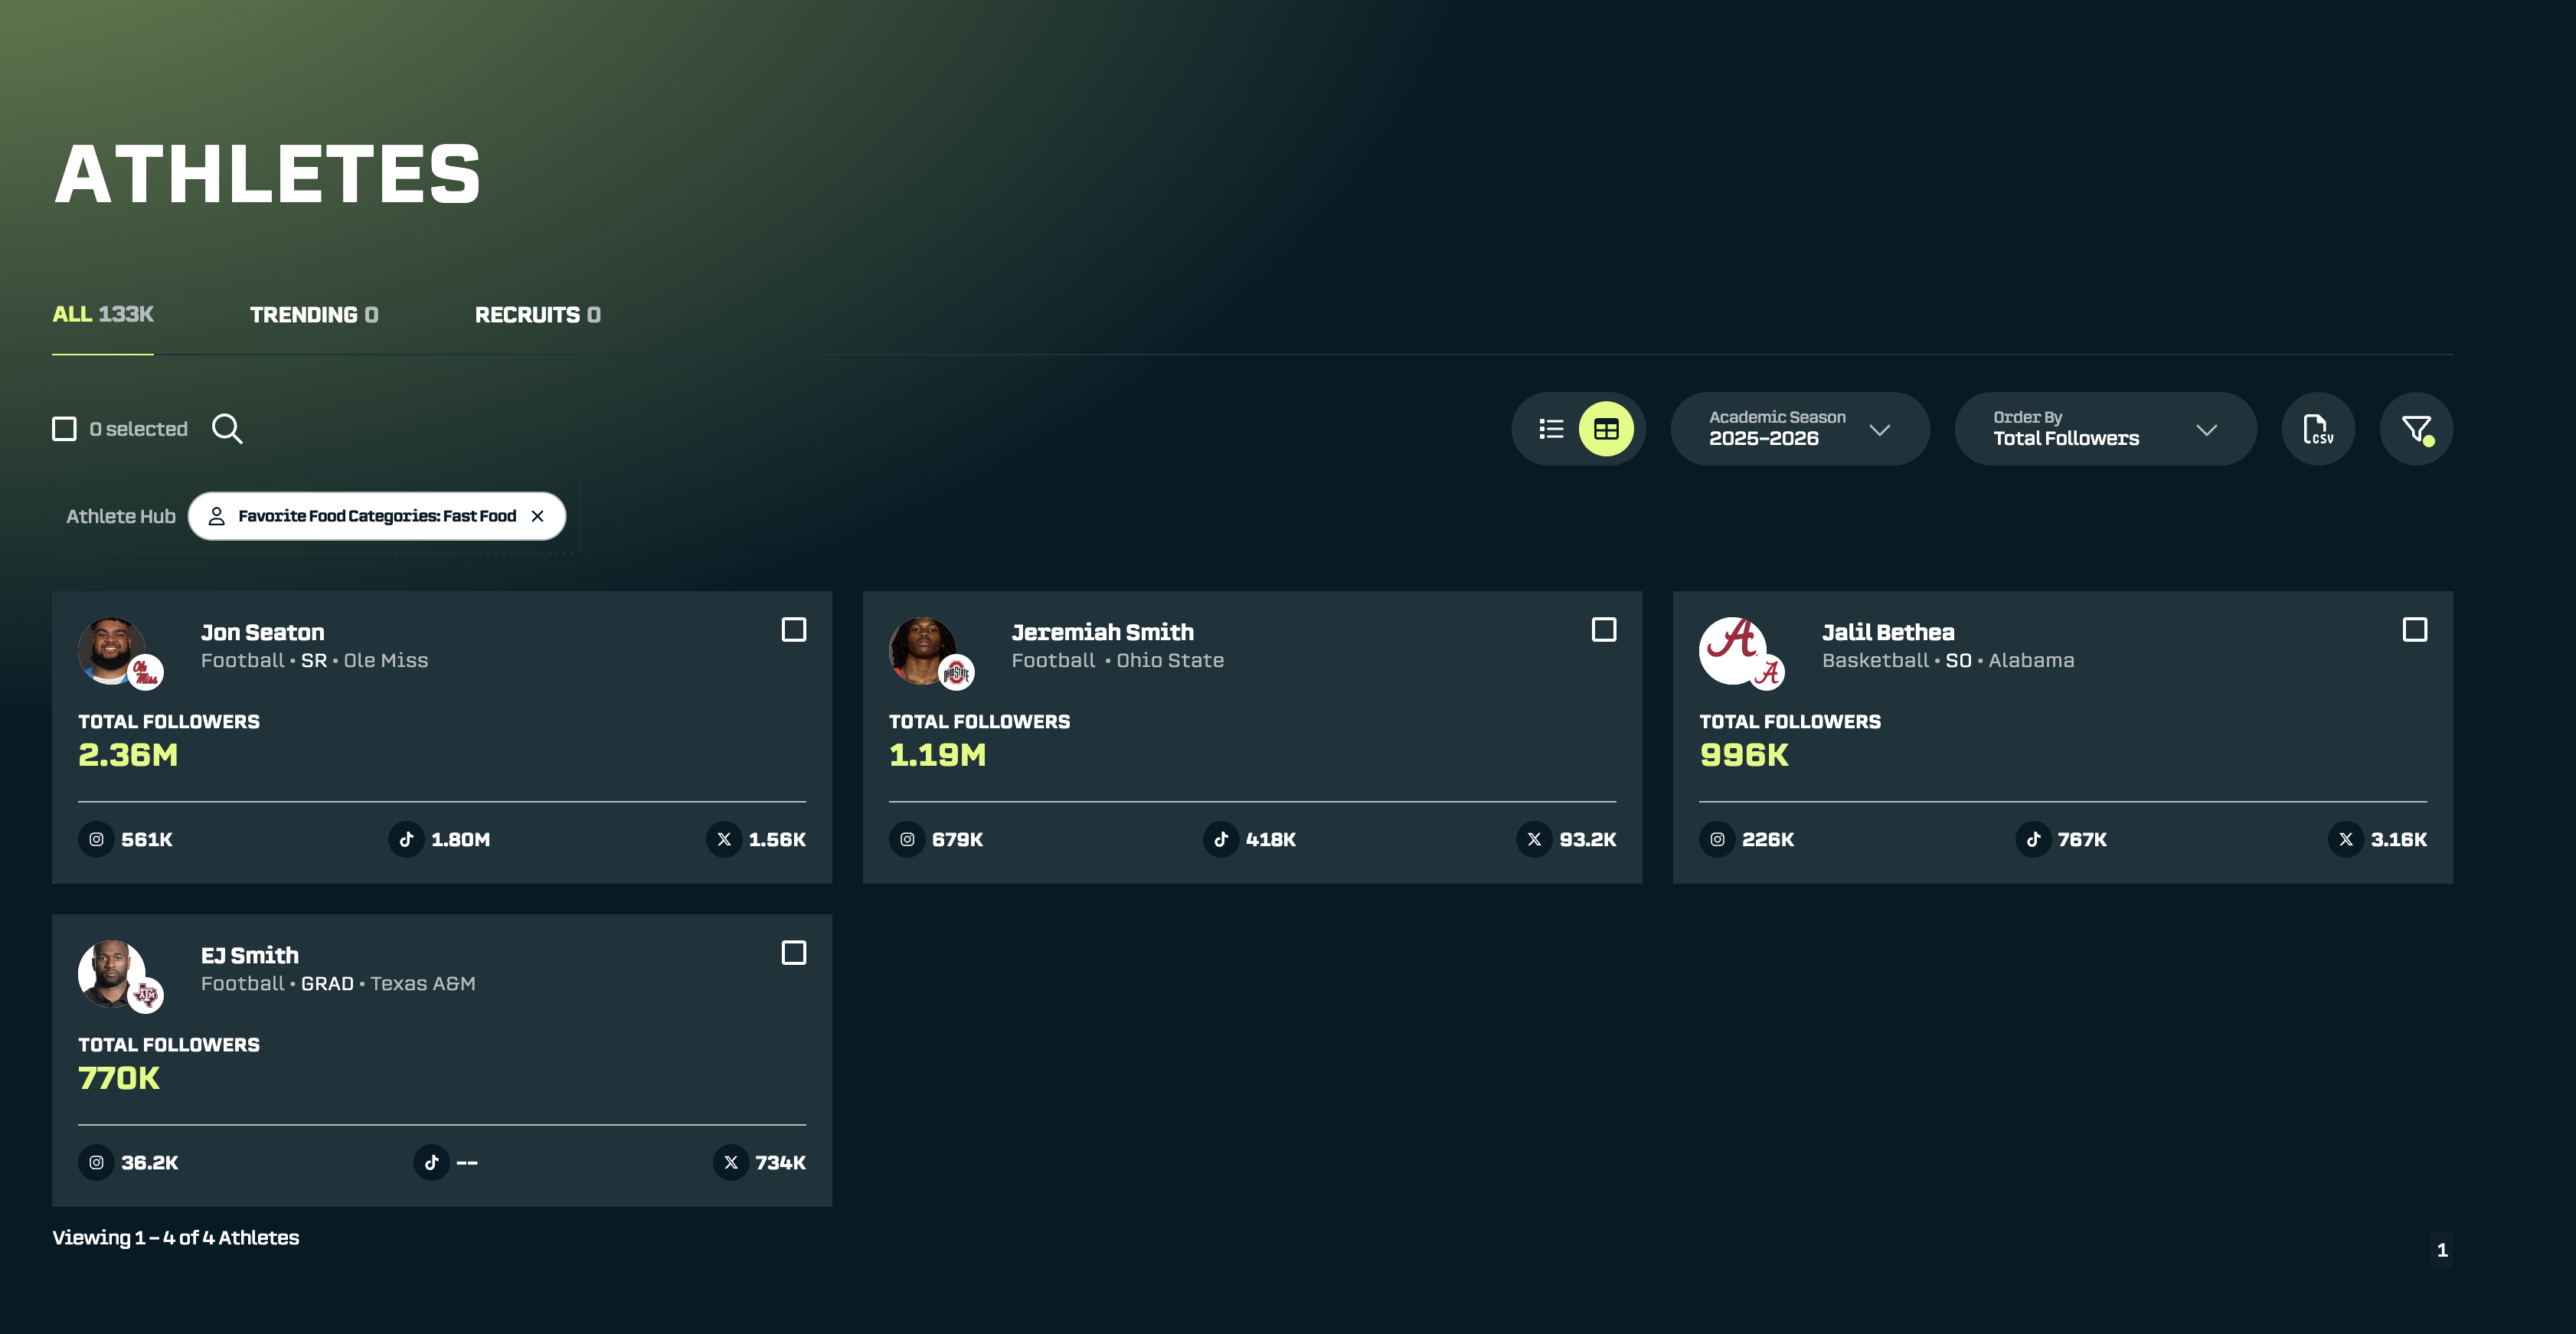
Combining Filters
The real power comes from combining property filters with everything else in SA Score. Find athletes who:
- Have dogs AND over 10k followers
- Love Italian food AND are in the SEC AND have engagement rates above 5%
- Drive Toyotas AND are located in Texas AND have high audience quality scores
Every property you create expands what you can search for.
Summary
Properties turn your internal knowledge into searchable, filterable data. Here’s the quick reference:
Property Type: Text
- Use when: You need open-ended answers
Property Type: Number
- Use when: You're tracking numeric values
Property Type: Checkbox
- Use when: It's a yes/no question
Property Type: Single-Select
- Use when: There’s one answer from a preset list
Property Type: Multi-Select
- Use when: There can be multiple answers from a preset list
Property Type: Email / Phone
- Use when: You're storing contact info
Property Type: Date
- Use when: You're tracking dates
Property Type: URL
- Use when: You're storing links
Three ways to fill in properties:
- Manual entry - Edit directly on athlete profiles
- Data Import - Upload spreadsheets in bulk
- Surveys - Let athletes provide the info themselves
Pro tip: Start with the properties that match your most common sponsor requests. If brands always ask about pets, vehicles, and food preferences, create those first. You can always add more later.
Questions? Reach out at support@studentathletescore.com or use the in-platform support.
— The SA Score Team


